With the Excel Add-In, data from Biotaktix can be easily transferred into your own Excel worksheets and Excel tools.
If you are working in a managed Microsoft 365 environment of your company, please follow the instructions for the Microsoft Admin Center further below.
Install Add-In without Microsoft 365 Admin Center
To install the Add-In, open Excel and create a new document. In the ribbon under "Home" there is a menu item "Add-Ins" on the right.
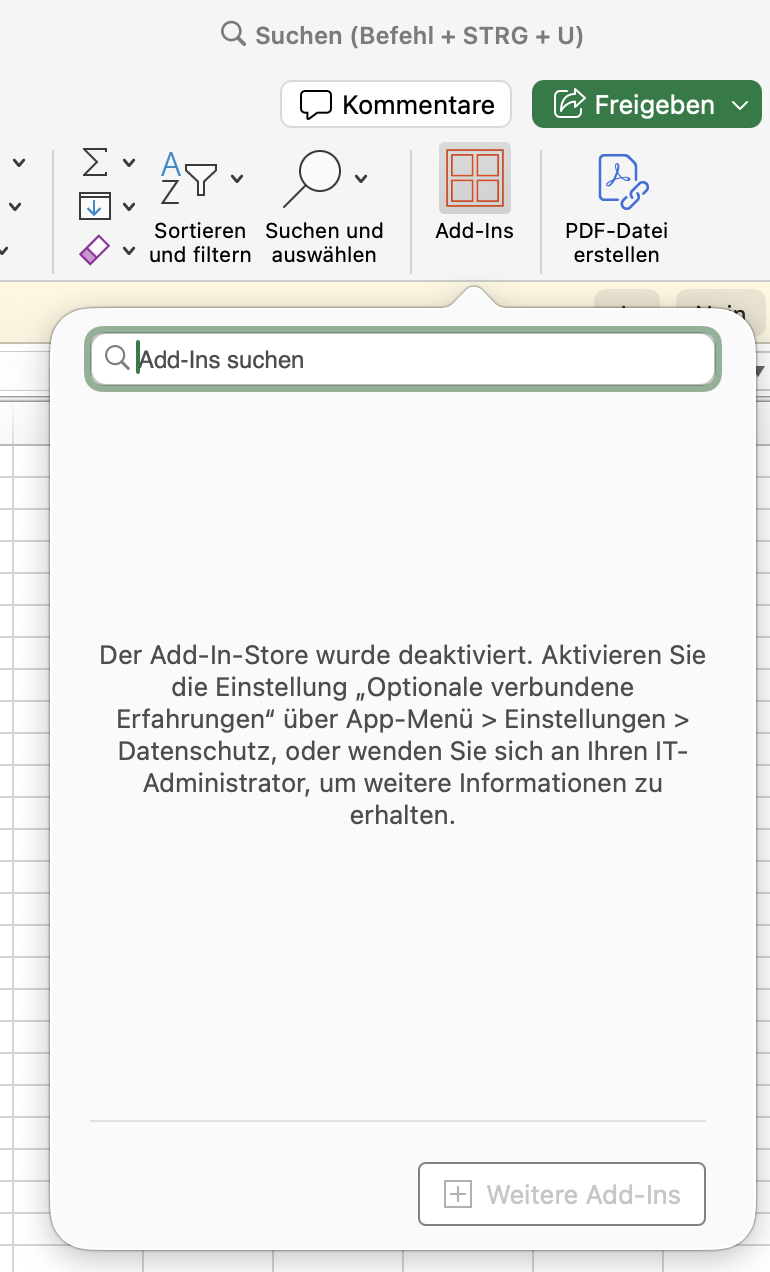
If you see the message "The Add-In Store has been disabled", please go to Excel's settings, select "Privacy", and enable the checkbox "Optional connected experiences"
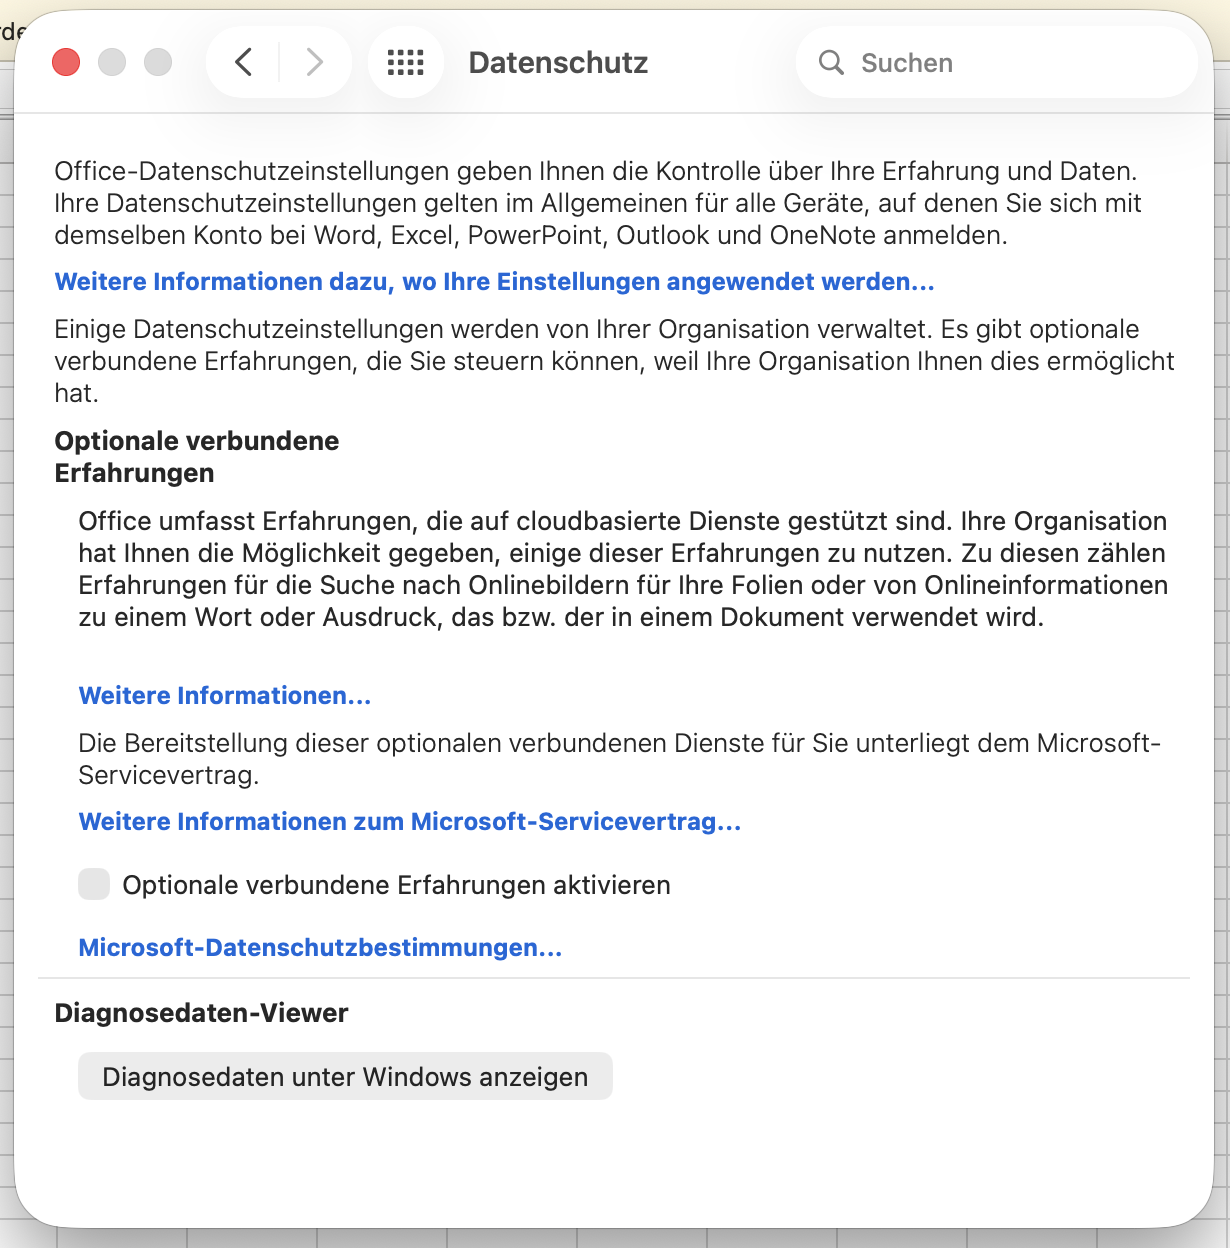
Then you need to restart Excel. In the Add-Ins area you should now be able to search for Biotaktix and add it:
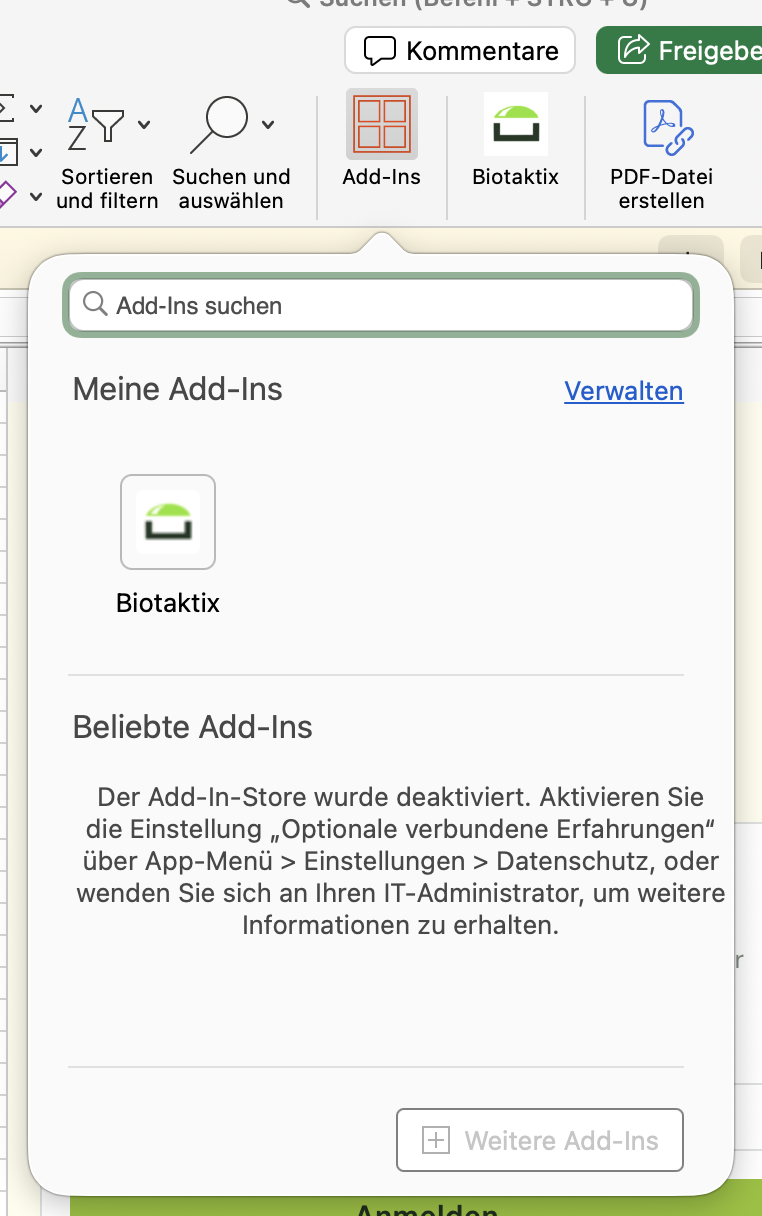
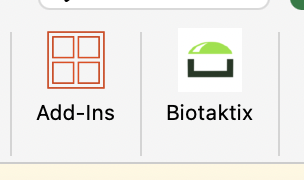
After adding, Biotaktix appears as a button in Excel:
Now continue in Biotaktix by clicking "System", "Biotaktix Link", "Excel" and generating a connection key.
Install Excel Add-In with Microsoft 365 Admin Center
If you are working in a managed Microsoft environment (e.g., in larger companies), the plugin may need to be approved by your IT department first.
These steps can only be performed by the person responsible for administering your Microsoft 365 – so if in doubt, forward this guide to your IT department.
How an Office Add-In can be rolled out within an organization is described in detail here:
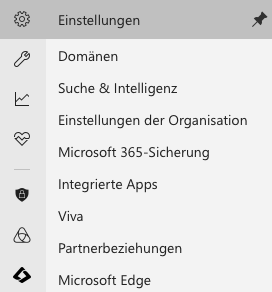
Go to admin.microsoft.com and click the wrench icon, then "Integrated apps". This menu item may only become visible after clicking the three dots "...".
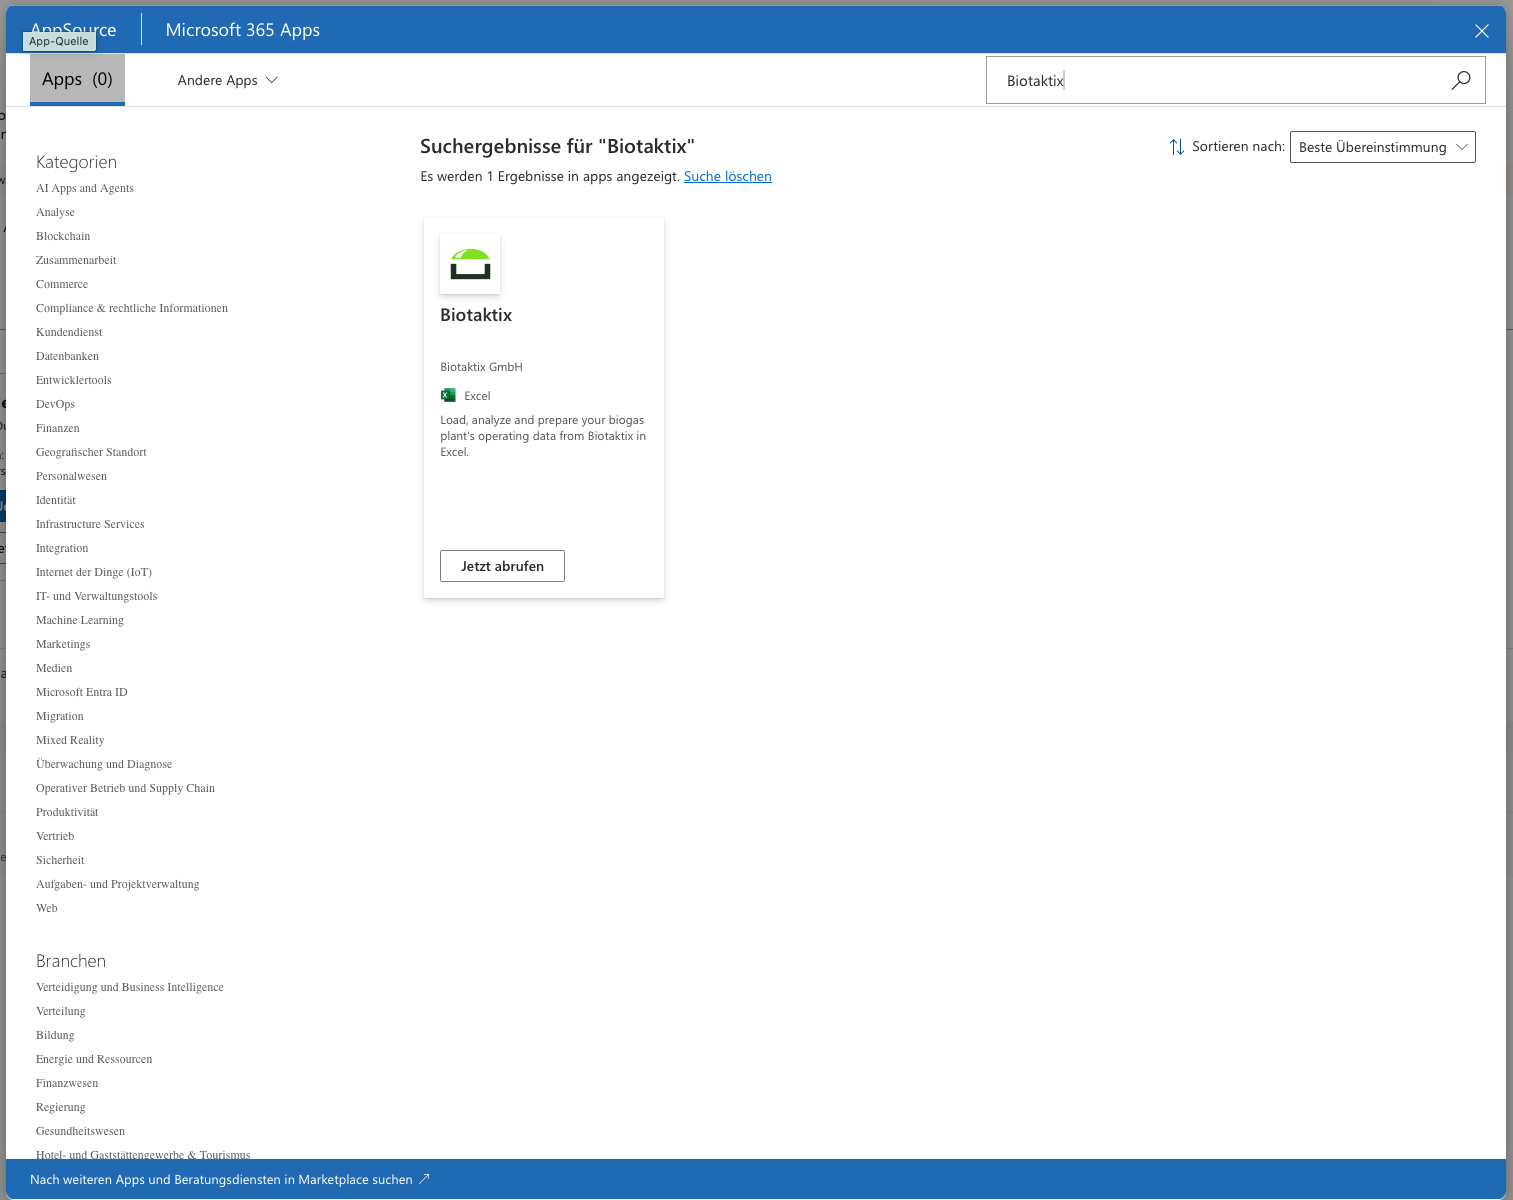
Then select "Get apps" and search the AppSource catalog for "Biotaktix". By clicking "Add", you can now control the deployment of the Add-In to users and user groups.